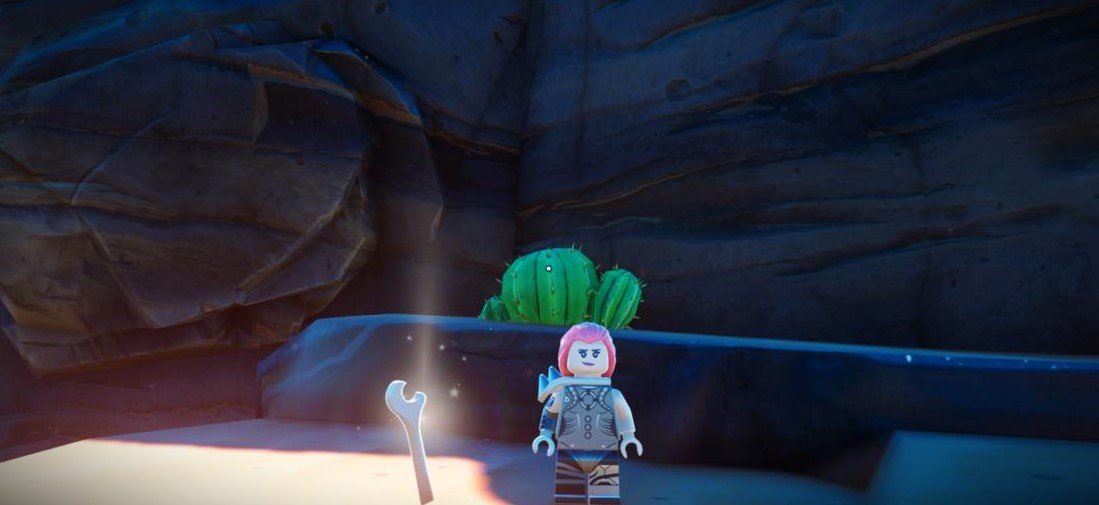
The latest update, Mechanical Mayhem, in Lego: Fortnite introduces an array of vehicles to enhance mobility across the map. Alongside these new vehicles, players can now enhance their custom vehicles by crafting a wrench using basic materials. This wrench enables players to control the direction of movement for their custom vehicles.
With the wrench, players can designate specific channels for thrusters and switches on their custom vehicles, allowing for selective activation of thrusters by individual switches. To fully grasp the mechanics of using the wrench to customize vehicles, refer to the detailed guide below.
How To Craft The Wrench

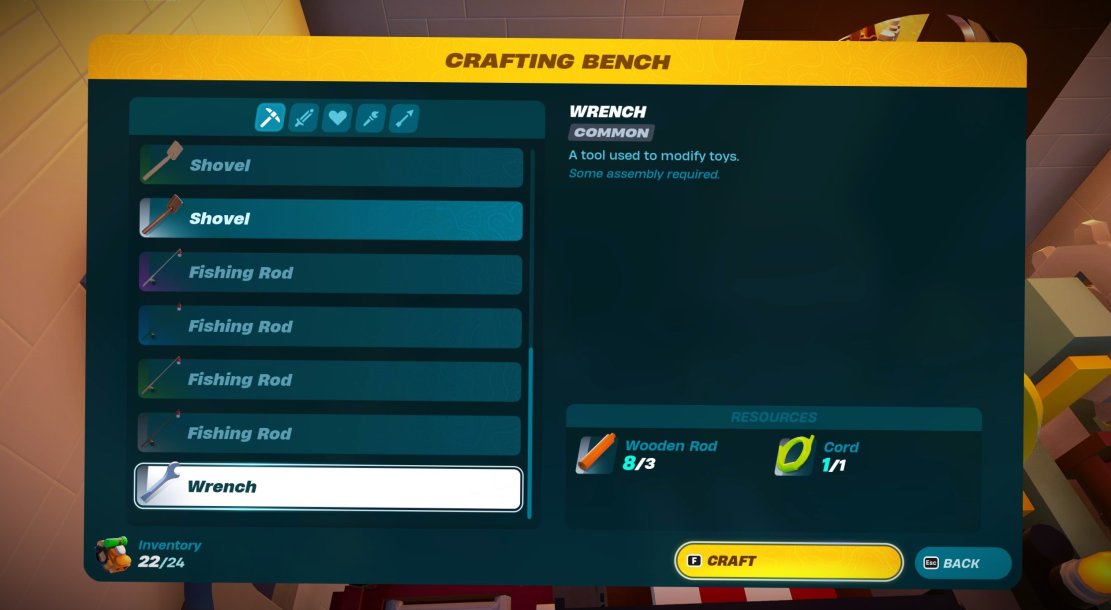
Before gaining access to the Wrench, you must first unlock it by crafting a Wooden Rod. This requires utilizing the Lumber Mill utility station to transform a piece of wood into a Wooden Rod. Once obtained, place the Wooden Rod into your inventory to immediately unlock the crafting recipe for the Wrench.
To craft a Wrench, gather the following materials and head to your crafting bench:
- One Cord
- Three Wooden Rods
How To Use The Wrench With Switches And Thrusters

In Lego Fortnite, the primary function of the Wrench is to interact with the Switches and Thrusters integrated into your custom vehicles and aircraft. Presently, custom creations are built using Dynamic Foundations, a sizable wooden piece that responds to the attachment of thrusters or balloons.
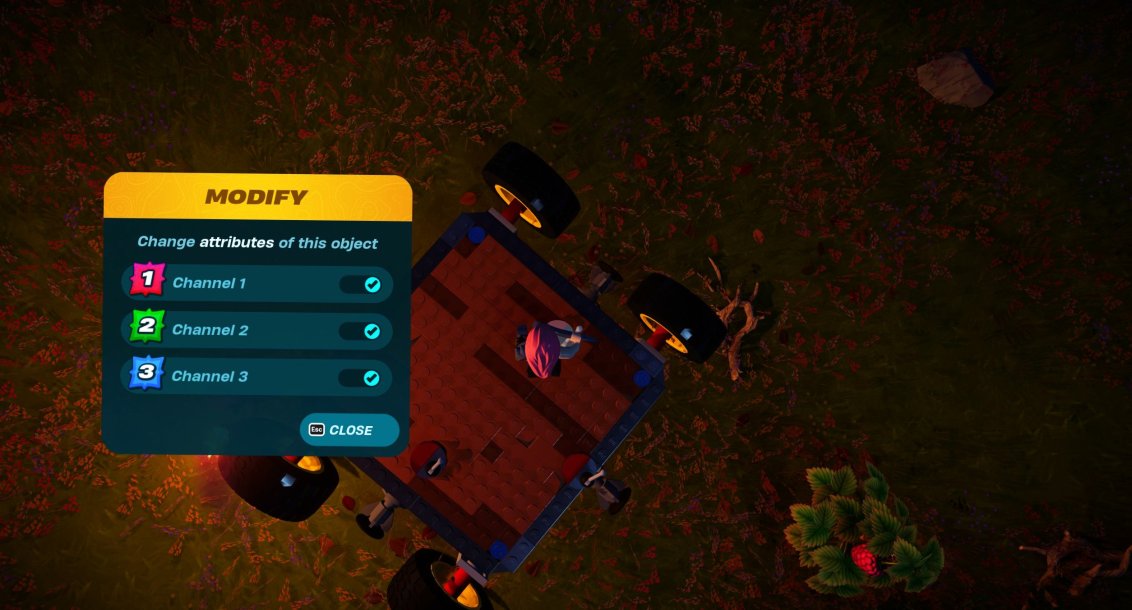
However, without utilizing the Wrench, all thrusters activate simultaneously whenever a switch is flipped, resulting in erratic or unidirectional movement of the vehicle. Fortunately, the Wrench now facilitates the creation of up to three distinct channels between thrusters and switches, enabling selective activation of specific thrusters by designated switches.
We recommend assigning a switch for each desired direction of movement for your custom vehicle and employing the Wrench to link these switches with the corresponding thrusters. For instance, if you intend for your aircraft to bank left, ensure the creation of a Switch linked to the Thrusters on the right side of the vehicle.
To establish these channels, simply grasp the Wrench and click on either a Thruster or a Switch to access the channels menu. From there, assign a number to each piece of equipment, thereby enabling effective maneuvering of your vehicle.
